
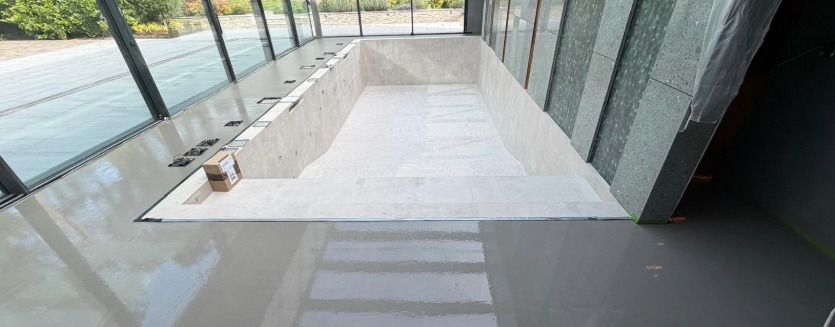
On Site in South London – Levelling an Uneven Substrate with Mapei Ultraplan
Fast Turnarounds on Difficult Floors
Older properties in South London hardly ever give you an easy subfloor to work with. What with previous alterations, timber movement, and worn concrete slabs, they always need levelling. This job, levelling an uneven substrate with Mapei Ultraplan was no exception.
Refurbishing floors in South London always brings the same headache – uneven subfloors and tight schedules. The builder on this job had final floor coverings booked, but the subfloor was out by nearly 20mm from one corner of the room to the other. Laying flooring over that would have ruined the finish inside six months.
Buxton Flow Screeds has over twenty years working on screeding sites across London, so we knew exactly what was needed: 80 bags of Mapei Ultraplan Renovation, laid in a single morning to get back on track.
Job Summary
- Site – South London property refurbishment
- Material – 80 bags of Mapei Ultraplan Renovation (2 tonnes)
- Target floor area – Approx. 110 m²
- Application – Variable depth levelling (4mm to 20mm)
- Installer – Buxton Flow Screeds
Mapei Ultraplan Renovation Screed
When you’re dealing with this kind of challenge you need to be sure you have the right material. Mapei Ultraplan Renovation is our go-to on floors with a chance of a slight deflection – it’s a compound that’s guaranteed not to crack or pull itself apart.
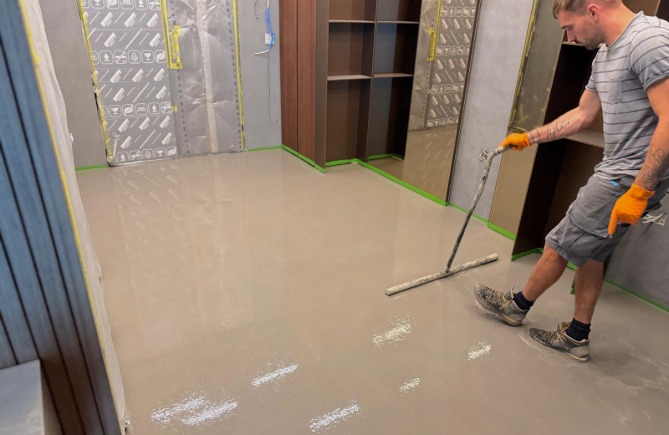
Why We Specified It for This Floor
- Handles variable thickness – Pours cleanly from 3mm down to a feather, all the way up to 40mm in deeper troughs.
- Fibre-reinforced core – The fibres in the mix give it the tensile strength needed over tired substrates without hairline cracking.
- Saves site time – It sets rapidly so we can meet the tight deadline for the final floor coverings.
- Smooth surface finish – Cures out smooth, leaving a base that needs no remedial grinding.
Getting The Floor Prep Right
A liquid renovation screed needs a solid prep plan; try to do it at speed and you end up with debonding, hollow spots, or cracking.
1. Cleaning The Subfloor
We stripped the subfloor back, grinding down any high spots, scraping away plaster nibs and old adhesive. Then we ran an industrial vacuum across the floor to pull every trace of fine dust out of the pores.
2. Substrate Priming and Sealing
Next we applied the primer across the entire surface, sealing any absorbent patches so the dry slab cannot suck mixing water out of the screed.
3. Perimeter Strip
Foam expansion strips were placed on walls, door frames, and pipe entries guaranteeing that the cured compound wouldn’t bind against masonry and crack under tension.
4. Optical Datum and Level Mapping
We shot the room with an optical laser to find the high point and fixed datum pins across the floor. This mapped out the exact depth profile across every hollow and transition, so the pour would hit the target level precisely.
Laying 80 Bags in Under 3 Hours
When you’ve got a tight deadline, it’s team experience and coordination that allows you to hit it. We had two men mixing, one man running buckets, and one screeder gauging and spiked-rolling the floor.
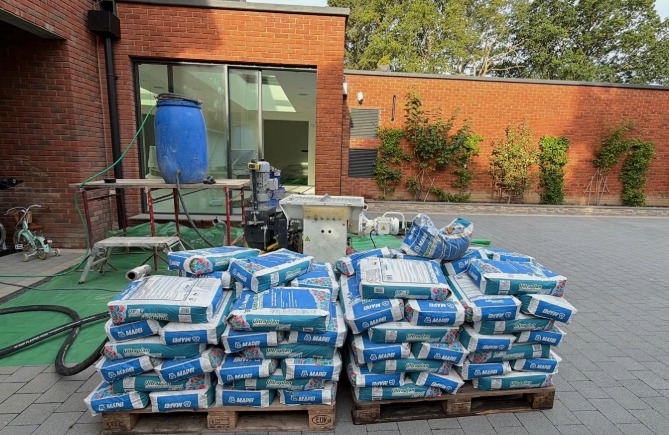
The Placement Process
- Precise water dosing – We kept the mix at exact manufacturer ratios to maintain full C30 compressive strength.
- Controlled pouring – Placing the wet compound systematically to keep the edge open and avoid cold joints between rooms.
- Spike-rolling – Screeders worked out surface tension and air bubbles immediately behind the pour, letting the compound settle flat.
The Final Finish – Flat Floors And No Downtime
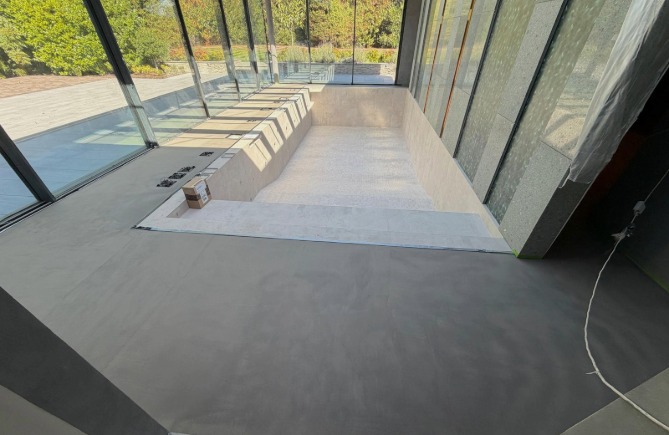
By early afternoon, the South London site had a dead-flat floor ready to cure. No hollow spots, no ridges, and no delays for the client.
Site Handover Headlines:
- Foot traffic ready – Our client was able to walk the floor within 3 hours of the final pour.
- Floor laying timeline – The compound was fully cured and ready for vinyl installation within 24 to 48 hours.
- Trade feedback – The flooring contractor had a level base with no patch-filling needed before laying down the LVT.
Need a flat, reliable subfloor before the floor fitters arrive?
Get in touch with Buxton Flow Screeds today. Let’s look at your floor datum, pick the right compound for your substrate, and get your subfloor prepped and poured right the first time. Call us on 020 3369 3396/07590 625100


