
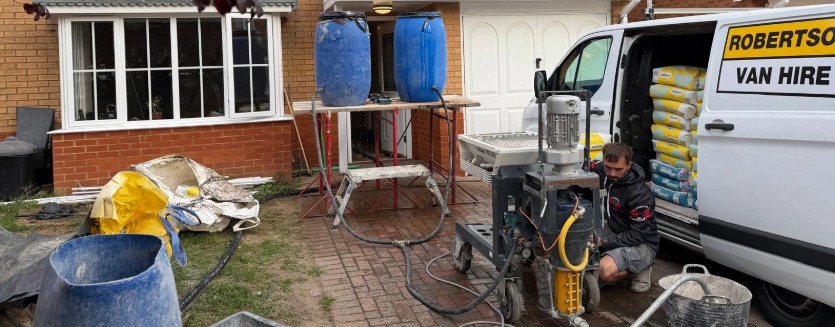
Subfloor Preparation in Dovercourt – Levelling 28m² at 35mm Depth for Rapid Covering
Site Preparation – Dealing with an Uneven Base
Refurbishments often uncover uneven subfloors and this 28m² site in Dovercourt, Essex, was no exception. Previous building work had left an uneven slab with level variations running up to 35mm out of true. The client had floor fitters scheduled, but laying over an uneven base would have guaranteed floor failure.
Pouring standard screeds would have brought the entire refurbishment to a standstill while waiting on drying times. Managing the sub-floor preparation in Dovercourt called for a high-build, rapid-setting system that could bridge significant depths without cracking.
Buxton Flow Screeds brings over twenty years of trade expertise to the jobs we work on. We specified 60 bags of fibre-reinforced renovation screed, setting up the space to take foot traffic within hours and final finishes in just 48 hours.
Job Summary
- Site – Dovercourt, in Harwich; property refurbishment
- Material – 60 bags of fibre-reinforced renovation screed (1.5 tonnes)
- Target floor area – 28m²
- Application – High-build deep levelling (nominal 35mm depth)
- Turnaround – Ready for final floor coverings in 2 days
- Installer – Buxton Flow Screeds
High-Build Renovation Screed
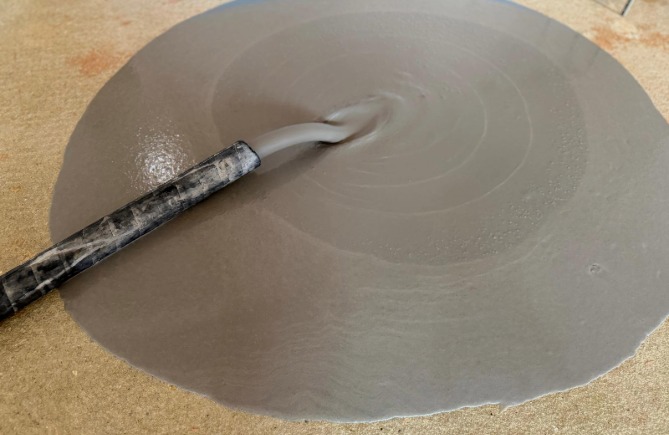
When you are putting down a 35mm build over an uneven substrate, you need to be sure that you’ve got the right product. A standard levelling latex will slump, shrink, or crack at that depth, so we selected a high-build renovation screed that’s designed to cure under tension without debonding.
Why We Specified It for This Floor
- It takes depth – Formulated to pour cleanly up to 35mm–50mm in a single pass without separating the aggregate.
- Fibre-reinforced mix – Built-in fibres provide flexible strength which controls shrinkage over irregular bases like this one.
- Fast moisture release – Chemically consumes its own mix water, allowing the contractor to lay floor coverings in just 2 days instead of having to wait weeks.
- Case-hardened surface – Dries to a hard, flat finish ready for the adhesive application.
Getting The Floor Prep Right
If you try to pour a deep renovation screed without detailed substrate preparation you end up with problems (debonding, pinholing, hollows). Here’s the site prep process we used before the pour:
1. Cleaning The Subfloor
We start by stripping the concrete substrate, clearing away loose debris, old adhesive residues, and any surface laitance. We finish this part of the prep with an industrial vacuum to make sure we get all the fine dust out of the open pores.
2. Substrate Priming and Sealing
For this job we used an acrylic primer across the 28m² area. This seals the porous substrate, stopping the base from pulling water out of the screed, which prevents pinholes from rising through the pour.
3. Perimeter Isolation
We installed foam expansion strips all around the room, including doorways and pipe penetrations. This ensures the 35mm screed bed can expand and contract without pinching against walls and cracking.
4. Datum and Level Mapping
We surveyed the room with a laser level, identified the highest structural point, and set depth pins across the floor. This mapped out the exact 35mm profile so the wet mix would meet the finished datum across every section.
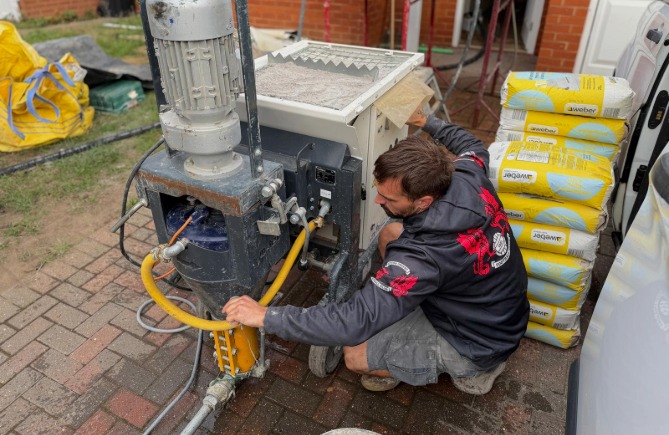
Laying 60 Bags at 35mm & Placement
Placing 60 bags (1.5 tonnes) of renovation screed across 28m² at a 35mm depth needs tight teamwork. You can’t afford any delays while the material is flowing. We had a four-man crew – two mixing continuously, one running mix, and one screeder gauging and finishing.
The Placement
- Strict water dosing – Measured water ratios strictly to manufacturer guidelines to make sure that the screed achieved full compressive strength without foaming or separation.
- Continuous wet-edge pouring – Poured systematically from the furthest point back to the exit, keeping an active wet edge to remove cold seams.
- Spike-rolling and smoothing – Rolled the wet material immediately behind the pour with a spiked roller to release trapped air and help with natural levelling.
The Final Finish – Flat Floors And No Downtime
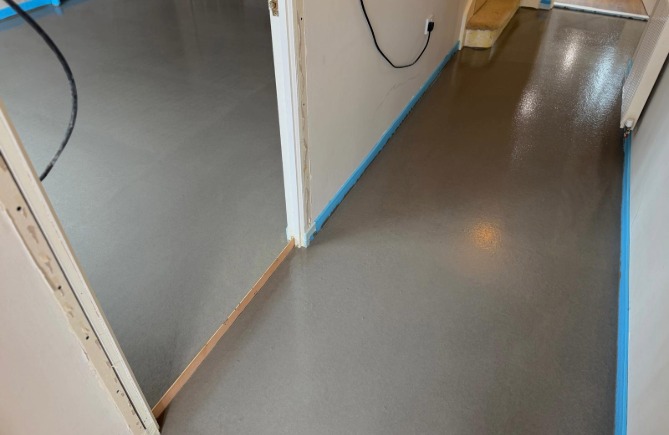
By lunchtime, the 28m² floor in Dovercourt was completely flat, and curing. There were no dips, no high spots, and no delays for our client.
Site Handover Headlines:
- Foot traffic ready – Our client was able to walk on the cured surface within 3 to 4 hours of the final pour.
- Coverings in 2 days – Ready to receive final floor coverings in just 2 days, saving weeks compared to traditional screeds.
- Trade ready – The flooring contractor took over a flat, stable substrate with no remedial levelling or grinding required.
Got An Uneven Substrate Holding Up Your Renovation?
Speak to the team at Buxton Flow Screeds. With over 20 years on site, we assess your levels, determine the correct screed mix for your job, and deliver a flat floor without any schedule delays.
Call us on 020 3369 3396 / 07590 625100.


