
How to Microcement Over Plasterboard
Want Flawless Microcement Walls? Here is How to Prepare Your Plasterboard for a High-End Finish.
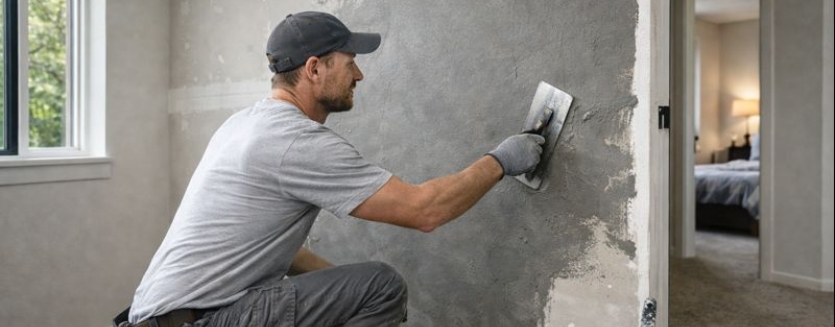
Microcement is a decorative, hand-applied finish that offers the organic concrete look and feel in a layer just 3-4mm thick. It’s a great way to over-board old walls in order to create a contemporary, grout free finish. In this blog we talk you through how to microcement over plasterboard. Whatever you’re looking to create, the secret lies in the precision of the board preparation.
At Buxton Flow Screeds, we’ve built our reputation on precision. As long-established liquid screed specialists and Forcrete-approved microcement installers, we focus on the chemistry of surfaces. At Buxton we don’t just supply the materials – we’re experienced installers too. You can trust our insights because they come from years of technical expertise and a long-held commitment to flawless, long-lasting finishes.
How to Apply Microcement to Plasterboard
Applying microcement to a vertical plasterboard surface needs a combination of patience, the right chemistry, and a very steady hand. Because plasterboard is a “flexible” material, the goal of these steps is to create a rigid, immovable surface that won’t crack over time.
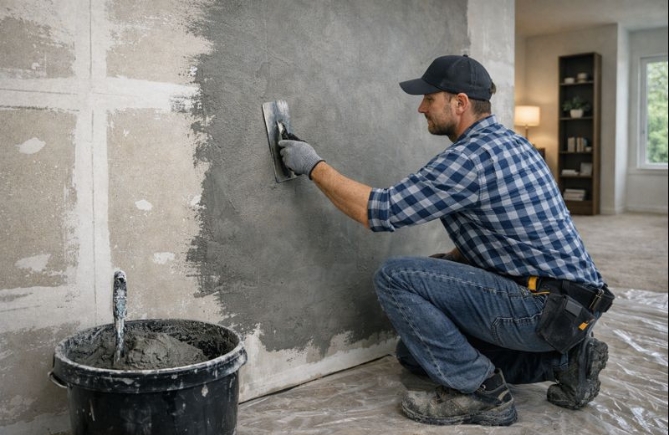
- Substrate Inspection – Choose plasterboard is high-density or moisture-resistant and check that all screws are countersunk and the boards are free from dust or oils.
- Joint Reinforcement – Apply high-quality alkali-resistant fiberglass mesh tape over all joints and internal corners. These are the most common failure points where cracks can appear.
- Specialist Priming – Apply a grit-based primer. This creates a “mechanical key,” giving the microcement a textured surface to grab onto, rather than sliding off the smooth paper face of the board.
- The Base Layer (The Strength) – Apply the first coat of microcement (often with an embedded mesh). This layer levels the surface and hides the taped joints completely.
- Intermediate Sanding & Smoothing – Once it’s dry, the base coat should be lightly sanded. This removes any high spots or trowel marks that would ruin the final finish.
- Decorative Finishes – Apply two thin layers (1mm or less) of Forcrete microcement by hand. This is where the specialist “movement” or “mottling” is created using a steel trowel. The total depth of the microcement should be 3-4mm.
- Sealing & Waterproofing – After a final fine sand, apply a high-performance polyurethane sealer. This makes the surface stain-resistant and reinforces the Forcrete integral waterproofing.
Why Microcement Projects Can Go Wrong (And How to Prevent It)
The beauty of microcement lies in its seamless, stone-like appearance. Because it’s applied in such thin layers, though, it’s a very unforgiving material to work with. If the preparation isn’t perfect, the final result will show every flaw in the substrate rather than hiding it.
- Skipping the Mesh – Omitting the alkali-resistant fiberglass mesh might save time, but it removes the structural “skeleton” of the coating, making cracks more likely at stress points like corners or doorways.
- Environmental Factors – Microcement is sensitive to temperature and humidity. Applying it in a room that is too hot or drafty can cause the material to dry too quickly, leading to “cold joints” and visible seams between sections.
- Inadequate Sealing – If the sealer is applied too thin or before the microcement has fully de-gassed (de-gassing is the natural process where microscopic air bubbles or gases escape from the microcement as it cures and hardens) you’ll “trap” those escaping gases, leading to surface defects such “pinholing” or white spots.
- Poor Sanding Technique – Using the wrong grit or an inconsistent sanding motion can leave circular swirl marks that only become visible once the final sealer is applied, at which point they’re very difficult to fix.
Important Warning – While we love the end result, we have to be up front about the fact that microcement is a specialist application. We would strongly recommend that – unless you have experience with hand-applied finishes like traditional plastering or decorative cement – you hire a professional installer in order to guarantee a durable, high-end result.
Microcement – Frequently Asked Questions
Getting that professional finish over plasterboard requires more than just a trowel – you also need an understanding of how the different materials interact. Here are the most common technical hurdles we get asked about regularly.
1. Why is my microcement finish showing tiny holes (pinholes)?
Pinholes indicate that the base layer was too porous, or the de-gassing process was interrupted. In professional installs, we use high-density Forcrete products and specific priming techniques to “fill” the microscopic voids before the final two layers are applied.
2. How long must I wait for de-gassing before sealing?
It ultimately depends on site temperature and humidity, but it is usually 24 to 48 hours. Sealing too early is a common mistake that traps moisture and gas, leading to a milky, hazy finish that can be difficult to put right.
3. Can I apply microcement directly over standard plasterboard?
Technically yes, but it must be properly prepared. Without a ‘mechanical key’ (a rough surface created by a specialist primer), the microcement won’t adhere correctly. We also recommend using moisture-resistant boards in any area prone to dampness.
4. What is ‘ghosting’ and how do I prevent it?
Ghosting is the appearance of board joins through the finished surface. To stop this, we use alkali-resistant mesh to bridge every joint and corner. This reinforces the substrate so the microcement acts as one continuous, crack-free sheet.
Ready For Guaranteed Perfection?
At Buxton Flow Screeds, our Forcrete-approved specialists combine technical precision with an eye for design. Contact our friendly team today for a no obligation quote – 020 3369 3396/ 07590 625100


