
Crumbling Screed Repair – Patch It or Replace It?
How To Fix Blown Screed Without Ripping It All Up
After a few years of blissful ignorance, suddenly finding that your floor feels uneven or “crunchy” underfoot is really worrying. Even worse is the moment when you peel back the flooring to find a sandy mess. So, what’s the cause? You are most likely dealing with trapped moisture. That bubbling, crunchy screed suggests that damp vapour is rising, breaking down the screed’s integrity and de-bonding the floor covering.
It’s a nasty discovery to make, but crumbling screed repair is possible without you having to replace the whole floor. You do, however, need to find the source of the moisture before you go any further.
At Buxton Flow Screeds, we’ve spent over 20 years supplying and installing liquid screeds across the UK. We haven’t just poured floors – we’ve fixed them, too. Whether you are a commercial builder or tackling a home renovation, our advice comes from decades of hands-on experience dealing with subfloors. We know exactly when a floor can be saved and when it’s time to start fresh.
The Patch Test – How to Tell If You Need a Full Floor Replacement
Before you start ripping up the entire floor, you need to know how extensive the damage is. At Buxton Flow Screeds, there are a few tests we use to decide if a floor is “gone” or if it’s just a localised “soft spot.”
Step 1. The Tap Test – Take a heavy washer, a coin, or the handle of a screwdriver. Tap the screed around the crumbling area. A solid floor will sound sharp and “tight.” If you hear a hollow, dull thud, the screed has de-bonded from the sub-base. Mark the hollow areas with chalk.
Step 2. The Grid Test (Using The 20% Rule) – Draw a rough grid over your floor plan. If the hollow or crumbling areas cover more than 20% of the total room, patching won’t work. The screed slab is compromised, and patching usually leads to cracks forming at the joints between old and new material further down the line.
Step 3. The Scratch Test – On a section that looks “ok” near the damage, drag a key or a nail across the surface.
- Good Screed – You should barely make a mark, or just a white line.
- Failed Screed – If the object gouges a deep channel or creates dust easily, the binder has failed. If this happens across the room, do not patch – replace.
Fixing Your Floor – So It Doesn’t Happen Again
Whether you are patching or replacing, the goal of your fix is to achieve stability.
If You’re Patching –
First, you must resolve the moisture source and allow the subfloor to fully dry out. Once dry, don’t use a traditional sand/cement mix for your repair – it won’t bond well to the old, dry screed. You need a polymer-modified repair mortar.
The old screed is now dry and porous, so it will be “thirsty.” Saturate the repair area with a primer (multiple coats if necessary) to prevent the old floor from sucking the moisture out of your new patch, which would cause it to crack away.
If Replacing –
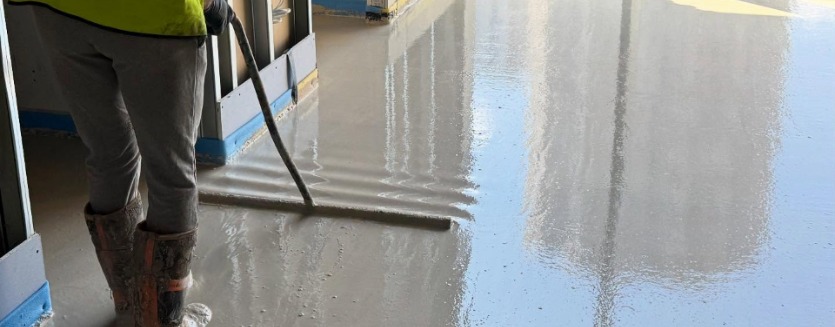
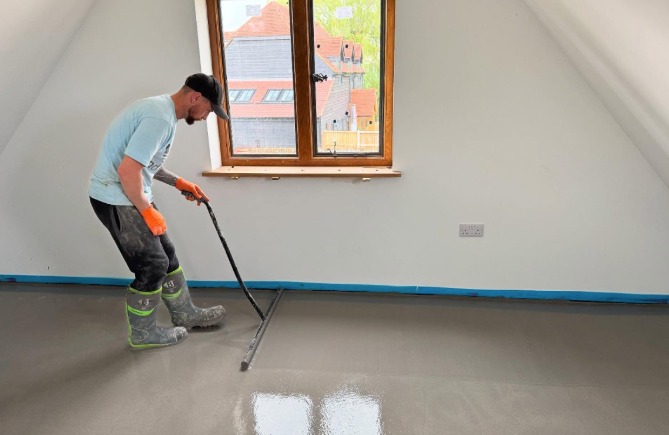
If traditional screed has failed you once, don’t repeat the issue. We recommend a liquid screed for replacements. The chemistry is different – it doesn’t rely on the installer’s physical strength to compact it.
It forms a dense, void-free slab that is laser-levelled to Surface Regularity SR2 or better. Plus, because we pump it from a truck, we don’t need to drag wheelbarrows through your house, keeping the mess of the renovation to a minimum.
Frequently Asked Questions About Screed Failure
Still have questions about tackling your floor? Here are the questions we regularly get asked by customers dealing with failed screed.
1. How long does a liquid screed substrate take to dry?
While you can walk on a new liquid screed floor within 24–48 hours, it needs time to release moisture before you lay final flooring. The general rule is 1 day per 1mm of thickness for the first 40mm. You can “force dry” with underfloor heating or dehumidifiers after 7 days, which will speed up the process.
2. Will replacing the screed damage my Underfloor Heating?
Not if it’s done carefully. During the removal of the old crumbling screed, we work very carefully around the pipes. Once the new liquid screed is poured, it encases the pipes completely, giving better thermal conductivity and lower heating bills.
3. Can I reuse my old carpet or vinyl after the repair?
Not a good idea. If your floor was bubbling, the vinyl has probably stretched or warped. And the backing may have old adhesive and crumbling grit attached to it. We’d recommend new floor coverings to go with your new subfloor.
Need a Second Opinion on Your Floor?
Don’t rely on guesswork with your subfloor. If you can’t be sure whether your crumbling screed is a simple patch job or a full replacement, the Buxton Flow Screeds team is here to help.
We offer free technical advice and site surveys to help you make the right call. Contact our team today with any questions you may have about your screed repair – 020 3369 3396/ 07590 625100


