
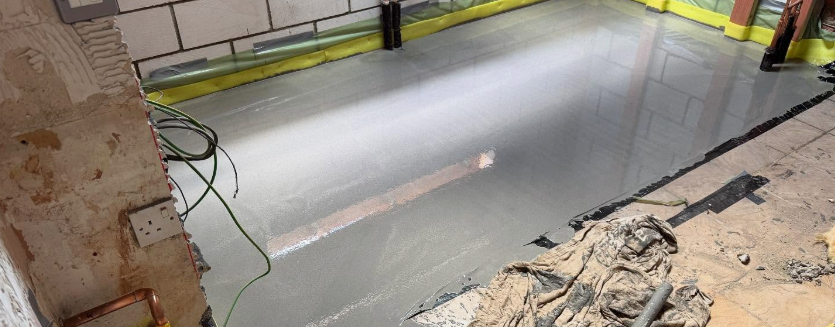
How to Fix Hollow Floor Screed
Step-by-Step Guide to Fixing Hollow Flow Screed
If you’ve noticed a hollow, empty sound when you tap the surface of your screed floor, compared to the dull thud of the surrounding solid areas – you’re dealing with hollow flow screed. Visually, you may see crazing on the surface or evidence of the slab de-bonding and lifting. No-one wants this result when they’ve laid a screed floor but in this blog we’re going to explain how to fix hollow floor screed.
Here at Buxton Flow Screeds, our screeders have been installing and guaranteeing floor screeds for more than two decades. We’re sharing our experience so you can fix this problem – which is fairly common. Now, let’s get your floor solid, stable, and ready for the next stage of your build.
The Buxton Guide to Repairing Hollow Liquid Screed
So, what causes a perfectly flat liquid screed to become hollow? You’ll find the issue is the bond between the screed and the base. If the insulation boards or concrete slab had any dust on them, or if the polythene membrane wasn’t perfectly flat, an air pocket can form. Even a strong breeze from an open door can cause rapid surface drying, leading to de-bonding. Don’t worry, this is a routine fix for our screeders.
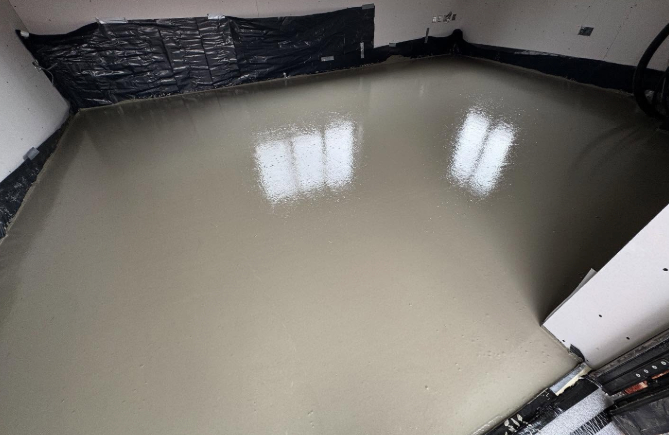
Your goal isn’t to just to fill the gap, but to make good the bond. You achieve this with a low-viscosity, two-part epoxy resin which can get into the smallest gaps and cures harder than concrete. So, your floor is welded together from the inside. Here’s how you do it.
The Buxton Screeds Repair Method:
- Map the Hollow – Use a small hammer or a timber offcut to tap the floor. You’ll be able to hear where the sound changes. Mark the boundary of the hollow area with a pencil. Then mark out your drilling points in a grid, approximately 20-30cm apart. Start from the middle and work outwards.
- Drill with Precision – Use a 5-6mm masonry bit for this. Start with depth control; drill a test hole in a test area (somewhere that won’t be seen) to assess your screed depth, then mark your drill bit with tape. Drill your grid of holes.
- Critical Clean-Out – Use an industrial vacuum with a narrow nozzle to get every particle of dust from each hole. Any dust left behind is an opportunity for this fix to fail, so be thorough.
- Prepare and Inject the Resin – Use a quality screed repair kit. Mix the resin and hardener for the time specified – don’t rush it. Starting at the lowest point of the floor if there’s a slope, inject the resin into a hole until it fills the hollow and pushes air out of the surrounding holes. Have a rag ready to wipe up any excess.
- Plug, Cure, and Check – Once you’ve finished injecting, the holes can be plugged with the same resin mix or a fast-setting cement filler. Check the resin’s technical datasheet for cure times, but you’ll normally have to wait 24 hours. Afterwards, give it a tap – you’ll hear nothing but a solid thud. You’re home and dry.
How to Guarantee a Perfect Bond on Your Next Install
If you know why a screed bonds successfully, you’ll be able to prevent future problems with hollow screed. Here’s how to guarantee a solid screed floor:
- Prioritise Preparation – A layer of dust might seem insignificant, but when you’re screeding, dust is a major obstacle to bonding. Which is why your liquid screed preparation should be thorough. Vacuum everything with an industrial machine and then vacuum it again.
- Create a Controlled Environment – The initial 48-72 hours of curing is the most important. Draughts or direct sun cause “differential curing,” where the surface dries faster than the base. This creates tension in the slab, causing it to curl and lift away from the subfloor – and a hollow void is created. Seal the room to stop this happening.
- Lay a Flawless Membrane – Your polythene membrane is the slipway for the screed. If it has ridges and wrinkles, these can trap air. As the screed cures and settles, these air pockets can turn into larger hollows. Take the extra time to make sure it’s perfectly flat and taped.
- Never Rush Underfloor Heating Commissioning – If you’re installing underfloor heating, don’t be tempted to commission the system to early. The heat forces moisture to leave the screed too quickly and unevenly, causing stress and de-bonding. Your screed needs 7 days at least to cure before you can start the gentle heat-up cycle.
Hollow Floor Screed Fixed?
We hope this in-depth guide has given you everything you need to sort out your screed floor. At Buxton Flow Screeds, we will always share our experience to help you get the best results. If your timeline is tight, however, or you want a professional guarantee, we are here to help. Our screeding teams provide complete flow screed and underfloor heating installation services, giving you the perfect foundation for your build.
Ready for a guaranteed perfect finish? Talk through your project with us today. Call: 020 3369 3396 or 07590 625100


